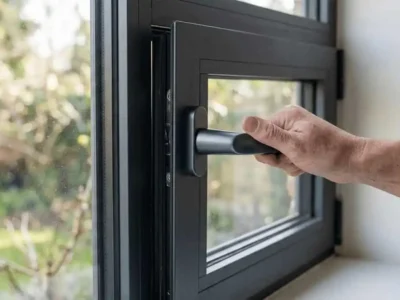
The Silent Failure. Seals and gaskets on Aluminium windows are the unsung heroes of comfort. They keep out drafts, rain, dust, and noise. But over time, these weather stripping materials become brittle, cracked, or permanently compressed. The result? Whistling drafts on windy days, water stains on your cill, and outside noise that seems to have gotten louder.
This guide explains how to identify deteriorating weather stripping, replace it with the correct profiles, and ensure continuous, uninterrupted sealing around the entire Aluminium frame.
The Problem & The Decision (DIY or Call a Pro?)
What Causes Weather Stripping Deterioration?
Weather stripping on Aluminium windows is typically made from rubber, EPDM (ethylene propylene diene monomer), silicone, or brush pile. All of these materials degrade over time due to:
- UV Radiation: Sunlight breaks down rubber and plastic polymers, causing them to crack, shrink, or become sticky.
- Temperature Extremes: Repeated expansion and contraction from hot summers and cold winters fatigues the material. Aluminium frames themselves expand and contract, stressing the seals.
- Ozone and Air Pollution: Atmospheric ozone attacks rubber compounds, accelerating cracking (known as ozone cracking).
- Compression Set: Over years of being squashed between the sash and frame, the weather stripping loses its ability to spring back. It becomes permanently flattened and no longer seals.
- Abrasion: On sliding windows, brush pile seals can wear down from friction. On casement windows, rubber seals can be pinched or torn.
Signs of Weather Stripping Failure
- You feel a cold draft or hear a whistling sound around a closed Aluminium window.
- Water leaks past the seal during rain (even if the frame‑wall joint is intact).
- Outside noise (traffic, neighbours, birds) is clearly audible when the window is closed.
- You can see cracked, missing, or flattened rubber gaskets.
- Dust or pollen accumulates on the inside cill despite the window being closed.
Why Continuous Sealing Matters
Weather stripping must form an uninterrupted loop around the entire Aluminium frame. Any gap – even a 1mm break – can let in drafts and water. When replacing weather stripping, you must ensure the new seal is continuous, with cleanly cut corners that butt together tightly or are mitered.
The Decision Matrix
| If this sounds like you… | Your Skill Level | Recommended Action |
|---|---|---|
| You can see cracked or flattened weather stripping. You are comfortable using scissors, a utility knife, and basic hand tools. | Beginner / Intermediate | Proceed with DIY Guide (replace weather stripping). |
| The weather stripping is glued into a narrow channel, and you have no tools or patience for detailed work. | Beginner / Zero Knowledge | CALL A PRO. A professional can replace the seals quickly with the correct tools. |
| The Aluminium window frame is also bent or the sash does not close fully (there is a gap even without weather stripping). | All Levels | CALL A PRO. The underlying issue (frame deformation or dropped sash) must be fixed first. |
| You have replaced the weather stripping but still feel drafts. The window may have a more serious alignment problem. | Intermediate | CALL A PRO. A professional can diagnose whether the issue is the frame, hinges, or seals. |
The DIY Guide
This guide covers how to identify the correct weather stripping type, remove old seals, and install new, continuous sealing around the entire Aluminium window frame.
Tools & Materials You Will Need
- Utility Knife (sharp blade)
- Flathead Screwdriver or Awl (for prying out old seals)
- Scissors (for cutting rubber profiles)
- Small Paintbrush or Vacuum (for cleaning channels)
- Isopropyl Alcohol or Mild Detergent (for cleaning)
- Lint‑Free Cloth
- Replacement Weather Stripping (identify your profile type – see Step 1)
- Rubber Mallet (for seating brush pile seals)
- Cyanoacrylate (Super) Glue (for joining ends, if needed)
Step‑by‑Step Instructions
Step 1: Identify Your Weather Stripping Type
Aluminium windows use several common weather stripping profiles. Identify yours before buying replacements:
| Profile Type | Appearance | Typical Location | Installation Method |
|---|---|---|---|
| Rubber Bulb Seal | Round or D‑shaped hollow bulb | Casement windows (on the sash or frame) | Presses into a channel or adheres with tape |
| EPDM Fin Seal | Lip or fin that presses against the frame | Sliding windows and doors | Slides into a groove |
| Brush Pile | Nylon bristles embedded in a plastic strip | Sliding window tracks | Slides into a channel |
| Self‑Adhesive Foam | Flat foam tape with peel‑off backing | Older Aluminium windows | Sticks directly to the frame |
| Magnetic Seal | Thin rubber with embedded magnet | High‑end casement and French doors | Snaps onto the frame |
How to find replacements:
- Cut a 25mm (1 inch) sample of the old weather stripping.
- Take it to a hardware store or window supplier. Match the shape, width, and height.
- If you cannot find an exact match, buy a universal profile that is slightly larger (it will compress).
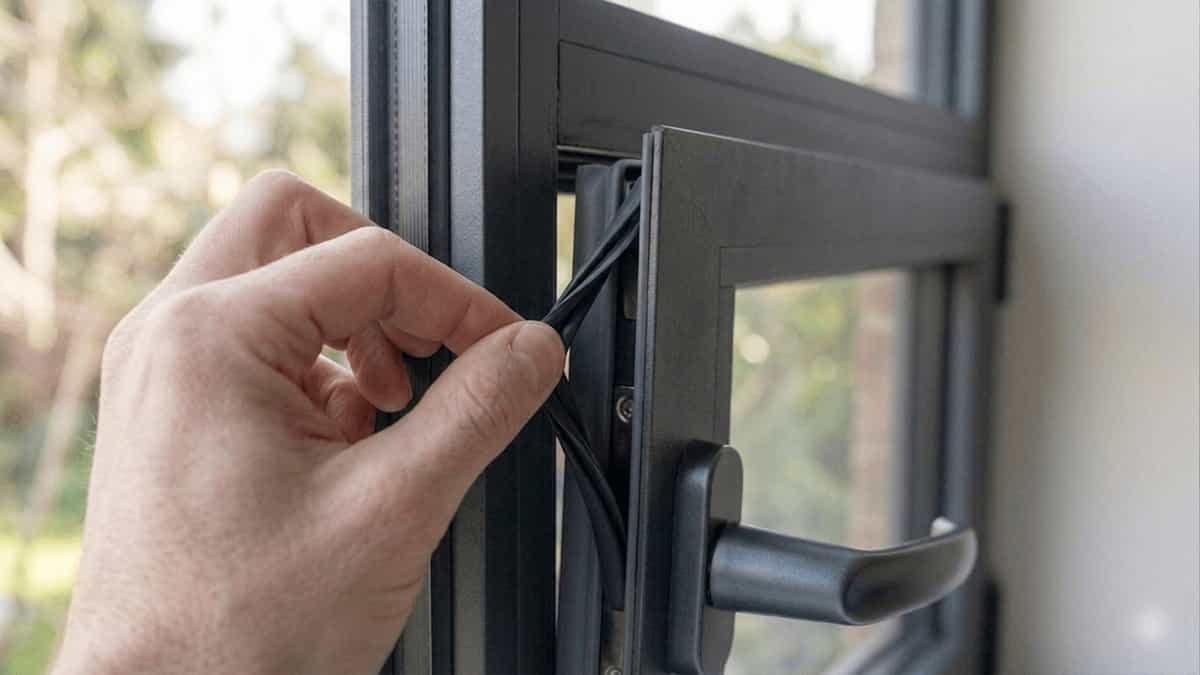
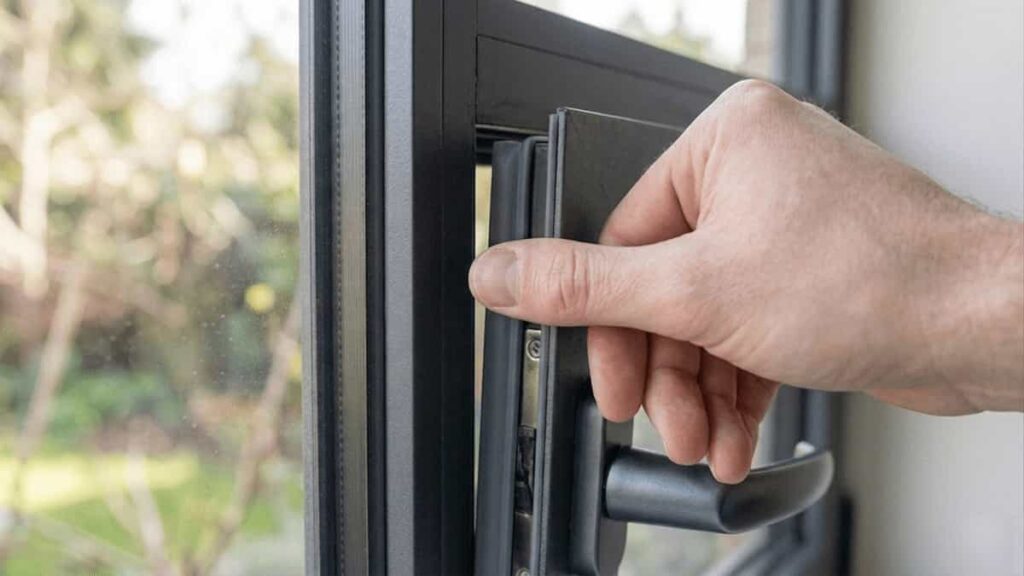
Step 2: Remove the Old Weather Stripping
- Use a utility knife to cut the old seal at a corner.
- Gently pry it out with a flathead screwdriver or awl. Be careful not to scratch the Aluminium frame.
- If the seal is glued, use a solvent (isopropyl alcohol) to soften the adhesive.
- Remove all old adhesive residue. The channel or surface must be completely clean.
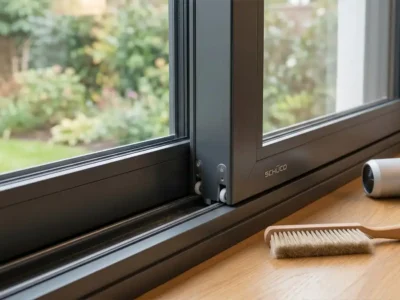
Step 3: Clean the Channel or Surface
- Vacuum or brush out any debris from the groove.
- Wipe the channel with isopropyl alcohol and a lint‑free cloth.
- Allow the surface to dry completely. New weather stripping will not adhere or seat properly on a dirty surface.
Step 4: Measure and Cut the New Weather Stripping
- Measure the perimeter of the Aluminium window frame (or the sash, depending on where the seal goes).
- Add 25mm (1 inch) to your measurement – it is better to have a little extra.
- Cut the new weather stripping with sharp scissors or a utility knife. Cut straight, not at an angle (unless you are mitering corners – see Step 5).
Step 5: Install the New Weather Stripping – Continuous Sealing
The goal is an uninterrupted loop. Start at the middle of the longest side, not at a corner.
For press‑in or slide‑in profiles (bulb seals, fin seals, brush pile):
- Starting at the midpoint of the top or bottom edge, press the seal into the channel using your fingers or a rubber mallet.
- Work your way around the frame, gently pressing the seal into place.
- At corners, do not stretch the seal. Instead, let it sit naturally. For sharp corners, you can cut a small V‑notch in the back of the seal to allow it to bend without kinking.
For self‑adhesive foam:
- Peel back 25mm (1 inch) of the backing paper.
- Press the adhesive side onto the clean Aluminium surface.
- Slowly peel the backing as you press the foam into place. Do not stretch it.
- At corners, cut the foam at a 45‑degree angle (miter) for a clean, continuous look.
Step 6: Join the Ends to Create a Continuous Loop
- When you reach the starting point, overlap the two ends slightly.
- Cut both ends cleanly so they butt together tightly (no gap).
- For rubber or foam profiles, apply a small drop of super glue to the joint to prevent separation.
- For brush pile, no glue is needed – the ends should just touch.
Step 7: Test the Seal
- Close the Aluminium window fully.
- On a windy day, hold a lit incense stick or a damp finger near the seal. If you feel air movement, there is a gap.
- Adjust the seal by pushing it more firmly into the channel or adding a second layer if necessary.
- If the window is now difficult to close, the weather stripping may be too thick. Remove it and buy a thinner profile.
Step 8: Regular Inspection
- Check weather stripping every six months. Clean it with a damp cloth.
- Apply a silicone‑based protectant (not oil) to rubber seals annually to prevent UV damage.
- Replace any section that becomes cracked or flattened.
Why You Might Need to Call a Professional
If you fall into the “Pro” category, here is what a specialist will do that you cannot safely achieve at home:
- Correct Profile Identification: Professionals carry sample kits and can instantly identify the correct weather stripping for any Aluminium window brand, including older or discontinued profiles.
- Factory‑Mitered Corners: Some high‑end Aluminium windows use pre‑mitered weather stripping that is welded or glued at the factory. Professionals can source these exact parts, ensuring a perfect continuous seal.
- Underlying Alignment Issues: If the sash does not close fully (even without weather stripping), a professional can adjust the hinges or realign the frame. Installing new seals on a misaligned window will not solve the draft problem.
- Full Gasket Replacement: On some commercial or high‑performance Aluminium windows, the gasket is designed to be replaced only by removing the glass. This requires specialised tools and safety equipment.
- Warranty & Compliance: If your Aluminium windows are under warranty, a DIY replacement of weather stripping may void it. A professional can perform the work while maintaining the warranty.
Summary
- Identify the Problem: Cracked, flattened, or missing weather stripping causes drafts, water leaks, and noise. Inspect seals every six months.
- Match the Profile: Take a sample of the old weather stripping to a hardware store. Choose the correct shape, width, and height.
- Remove and Clean: Pry out old seals and clean the channel thoroughly. New seals will not adhere to dirt.
- Install Continuously: Start at the middle of a long side, not at a corner. Ensure the seal forms an uninterrupted loop around the entire Aluminium frame.
- Test and Maintain: Check for drafts with an incense stick. Apply silicone protectant to rubber seals annually to prevent UV damage.
- Call a Pro: If the window frame is bent, the sash does not close fully, or you cannot find the correct profile, call a professional window installer.
Further Reading & Related
Disclaimer: This guide is for informational purposes. Aluminium Magazine is not liable for any damage resulting from DIY repairs. Always use the correct weather stripping profile for your specific window – an incorrect profile can prevent the window from closing properly.
Related Articles

Featured


You May Also Like
Why Cheap Telescopic Ladders Feel Unsafe
5 Quick Steps to Keep Your Window Fly Screens Clean & Cl…
Aluminium 7020 Alloy: Properties, Weldability, and Military-…
Why Aluminium is the Material of Choice for the Future of Bu…

Aluminium Baking Tray: Pros and Cons, Health Perspective, Cl…
