A Hanging Problem. When the sash (movable frame) of an Aluminium casement window drops too far within the fixed frame, it creates noticeable gaps above the handles, makes the window difficult to close, and can break the seal against weatherstripping.
This is often due to loose screws, worn hinge mechanisms, or stretched hardware over time. Left unaddressed, a dropped sash can lead to draughts, water leaks, and even security risks. This guide explains how to diagnose, fix, and prevent this common issue.
The Problem & The Decision (DIY or Call a Pro?)
What Causes a Dropped Sash?
A casement window sash is attached to the fixed frame by hinges (usually at the top and bottom or side). Over time, the weight of the Aluminium sash – combined with daily opening and closing – can cause:
- Loose Hinge Screws: The screws that hold the hinges to the Aluminum frame can work loose due to vibration, thermal expansion, or simply age. This allows the sash to sag.
- Worn or Stretched Hinges: Friction hinges (also called constant force hinges) contain springs that can wear out. When the spring loses tension, the sash no longer sits flush.
- Stripped Screw Holes: If screws have been overtightened or removed and reinserted multiple times, the threads in the Aluminium frame can strip. The screw no longer holds securely.
- Bent Hinge Arms: If the window has been forced open against an obstruction, or if someone has leaned on the open sash, the hinge arms can bend, altering the sash position.
Signs of a Dropped Sash
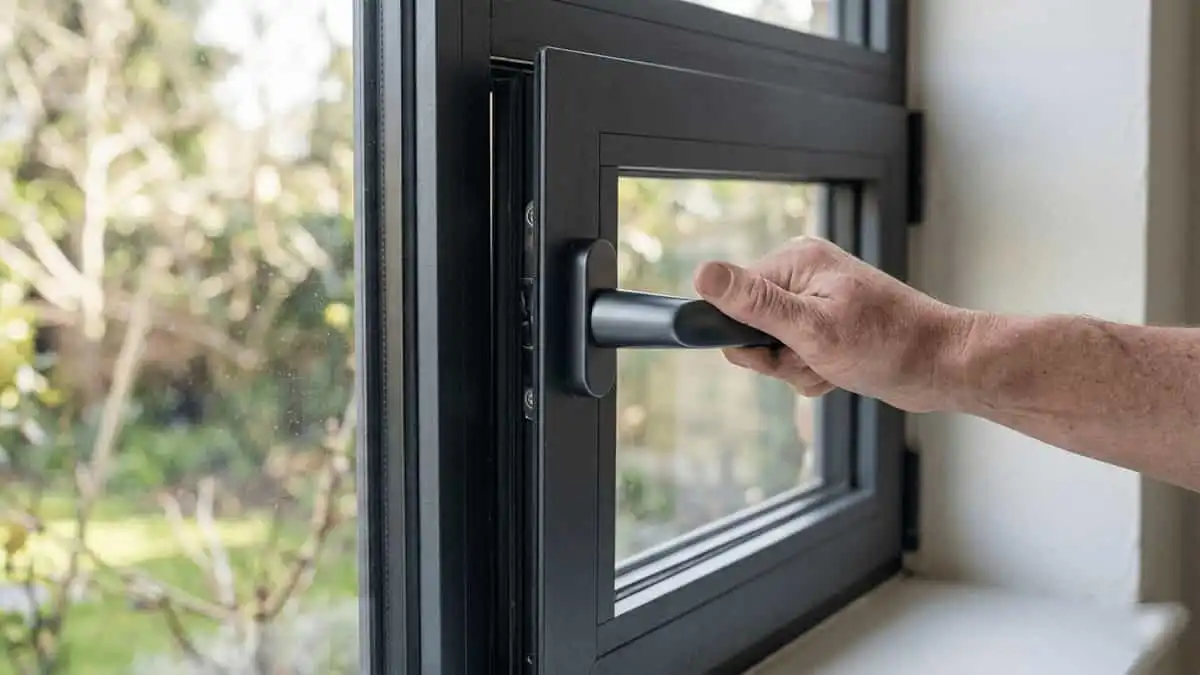
- The handle does not align with the striker plate – you have to lift the handle to close it.
- A gap appears at the top of the sash (opposite the hinge side) when closed.
- The bottom corner of the sash rubs against the fixed frame when opening or closing.
- You can see daylight through the weatherstripping on one side.
- The window feels loose or wobbly when operated.
The Decision Matrix
| If this sounds like you… | Your Skill Level | Recommended Action |
|---|---|---|
| The sash has dropped slightly (2–5mm). You are comfortable using a screwdriver and can identify loose screws. | Beginner / Intermediate | Proceed with DIY Guide (tighten screws). |
| The screws are loose or stripped, but the hinges look straight. You have basic tools and can remove the sash. | Intermediate | Proceed with DIY Guide (remove sash & replace screws). |
| The hinges are visibly bent, the window is very heavy, or you have no experience removing a casement sash. | Beginner / Zero Knowledge | CALL A PRO. Removing a large casement sash can be dangerous. |
| You have tightened all screws and replaced stripped holes, but the sash still drops. The hinges may be worn. | All Levels | CALL A PRO. Worn friction hinges require replacement, which is best done by a professional. |
The DIY Guide
This guide covers three levels of intervention: tightening screws, repairing stripped holes, and re‑aligning the sash. Start with the simplest step – tightening screws – which solves the majority of dropped sash problems.
Tools & Materials You Will Need
- Phillips Screwdriver (or PoziDriv – check your hinge screws)
- Allen Keys (Hex Wrenches) – for some hinge adjustment screws
- Spare Screws (same size: typically M4 or M5 stainless steel)
- Toothpicks or Wooden Matchsticks (for stripped hole repair)
- Wood Glue (if using matchsticks)
- Small Pry Bar or Putty Knife (for gentle leverage)
- Rubber Mallet (for stubborn sashes)
- Safety Glasses & Work Gloves
- Second Person (for removing the sash – it is heavy)
Step‑by‑Step Instructions
Step 1: Diagnose Which Hinge Is Loose
- Open the casement window fully.
- Observe the gap between the sash and the fixed frame at the top and bottom.
- If the gap is larger at the top, the top hinge may have dropped. If larger at the bottom, the bottom hinge is the culprit.
- Gently lift the sash by the handle. If you feel movement before the frame moves, the hinge screws are loose.
Step 2: Tighten All Hinge Screws (Without Removing the Sash)
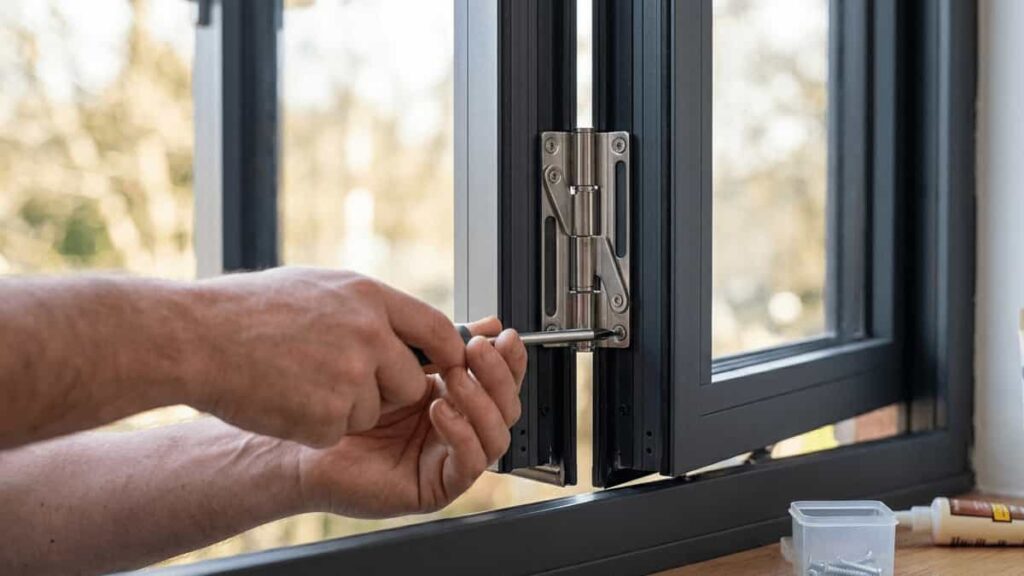
- Locate all screws attaching the hinges to both the sash and the fixed frame.
- Using the correct screwdriver, tighten each screw firmly. Do not overtighten – Aluminum threads strip easily.
- Close the window and check the handle alignment. If it now closes properly, you have solved the problem.
- If screws spin without tightening, the holes are stripped – proceed to Step 3.
Step 3: Repair Stripped Screw Holes
If a screw hole in the Aluminium frame has stripped, you have two DIY options:
Option A (Temporary): Use a longer screw
- Replace the stripped screw with a screw that is 5–10mm longer. The longer screw will reach unused threads deeper in the hole.
- Do not use a thicker screw – it can crack the Aluminium frame.
Option B (Permanent): Fill the hole
- Remove the hinge completely (you will need to support the sash or remove it – see Step 4).
- Insert a toothpick or wooden matchstick coated in wood glue into the stripped hole.
- Allow the glue to dry (1 hour).
- Break off the excess toothpick flush with the frame.
- Reinstall the hinge using the original screw. The wood provides new material for the screw to bite into.
Step 4: Remove the Sash (If Necessary)
If you cannot access the hinge screws with the sash in place, or if you need to replace a hinge, you must remove the sash.
- This step requires a second person. Casement sashes are heavy and can fall.
- Fully open the window to expose the hinges.
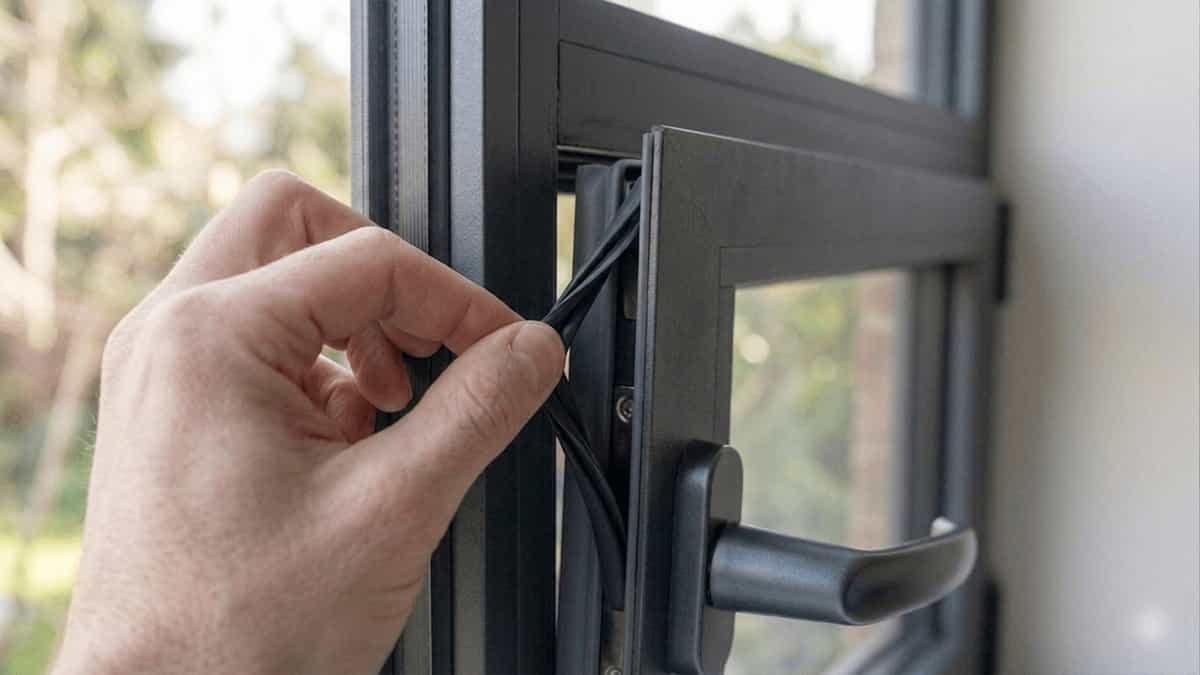
- Some hinges have a retaining pin or clip that must be removed. Others are held only by screws.
- Support the sash from underneath. Have your helper hold it steady.
- Remove all screws attaching the hinges to the fixed frame (not the sash).
- Carefully lift the sash away from the frame. Set it on a padded surface (carpet or blanket).
Step 5: Check Hinge Alignment and Tighten All Screws on the Sash
- With the sash removed, inspect the hinges for bends or damage.
- Tighten every screw on the hinge where it attaches to the Aluminium sash.
- If any screw holes are stripped on the sash side, repair them using the method in Step 3.
Step 6: Reinstall the Sash
- With your helper, lift the sash back into position.
- Align the hinges with the mounting holes on the fixed frame.
- Insert and tighten all hinge screws. Do not fully tighten any screw until all are started.
- Close the sash slowly. Check the alignment with the frame.
Step 7: Fine‑Tune the Alignment
- Some casement hinges have adjustment screws (often an eccentric cam or a slotted hole).
- Use an Allen key or screwdriver to make small adjustments.
- A quarter turn can move the sash by 1–2mm.
- Close and check the handle alignment. Repeat until the sash closes smoothly and the lock engages without lifting.
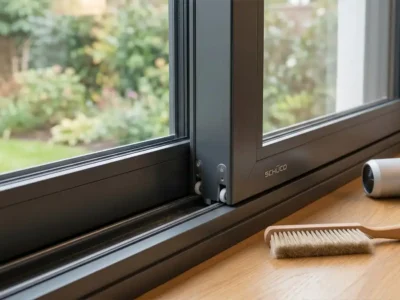
Step 8: Test and Maintain
- Open and close the window 10 times. The movement should be smooth, and the sash should sit flush.
- Check all screws every six months. Aluminum expands and contracts with temperature, which can loosen screws over time.
- Learn more about maintaining house Aluminum windows to prevent future issues – see the Further Reading section below.
Why You Might Need to Call a Professional
If you fall into the “Pro” category, here is what a specialist will do that you cannot safely achieve at home:
- Friction Hinge Replacement: Worn or bent hinges must be replaced. Professionals can source the correct hinge for your specific Aluminium window brand and install it without damaging the frame.
- Helicoil Insert Installation: For stripped screw holes that cannot be repaired with wooden dowels, a professional can install a Helicoil – a threaded metal insert that provides a permanent, strong thread in Aluminium.
- Sash Replacement: If the Aluminium sash itself is bent or twisted, a professional may need to replace the entire sash. This is not a DIY job.
- Full Window Replacement: For older casement windows with obsolete hardware, replacement of the entire Aluminium window unit may be the most cost‑effective solution.
- Warranty & Safety: A poorly executed DIY repair can lead to the sash falling out, causing injury or property damage. Certified installers guarantee their work.
Summary
- Identify the Problem: A dropped sash creates gaps, misaligned handles, and difficulty closing. Loose screws are the most common cause.
- Start Simple: Tighten all hinge screws. This solves most dropped sash issues.
- Repair Stripped Holes: Use a longer screw or fill the hole with a toothpick and wood glue to give the screw something to bite into.
- Remove the Sash if Necessary: For full access to hinges, remove the sash with a helper. Casement sashes are heavy.
- Call a Pro: If hinges are bent, screws will not stay tight, or the sash is damaged, call a professional window installer.
Related Articles

Featured


You May Also Like

Aluminium Lactate (C₉H₁₅AlO₉): The Complete Guide
Why Aluminium is the Material of Choice for the Future of Bu…
The Ultimate Guide to Glass Pane Replacement

Why are Aluminium Windows a Profitable choice for Commercial…
What Is a Thermal Break Strip in Aluminum Windows?
