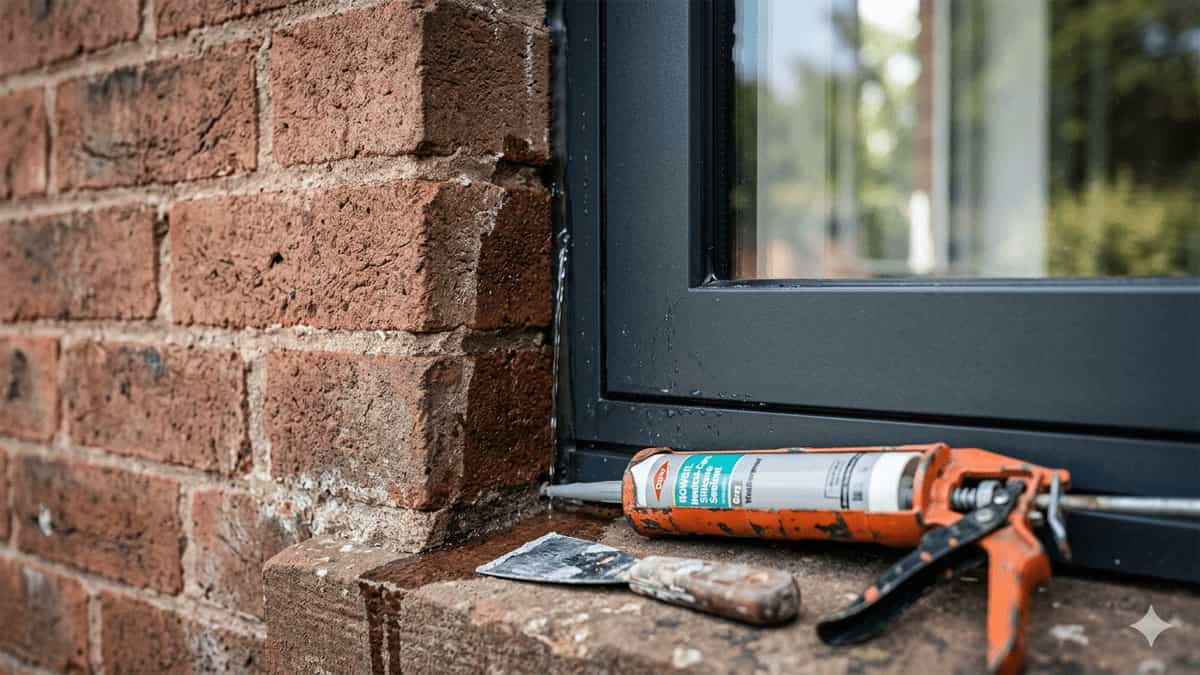
One of the most frequently reported problems is water penetration where the aluminum frame meets the wall. This occurs due to differing thermal expansion rates between aluminium and wall materials, creating capillary cracks over time. Improper sealing during installation is the primary culprit.
This guide will walk you through diagnosing and fixing this problem. We’ll cover a simple DIY approach for minor issues, but more importantly, we’ll clearly outline the scenarios where you must stop and call a professional to avoid making the problem catastrophically worse.
Part 1: The Problem & The Decision (DIY or Call a Pro?)
Before you pick up a tool, you need to honestly assess your skills. A bad repair job can trap water inside your wall, leading to thousands of dollars in hidden damage.

The Root Cause
- Differential Thermal Expansion: Aluminium expands and contracts with temperature changes at a different rate than brick, wood, or concrete. Over time, this movement can crack even the best sealant.Critical detail: Dark‑coloured aluminum frames (e.g., black, charcoal, or dark bronze powder‑coated finishes) absorb significantly more solar heat and can reach much higher surface temperatures than silver or white frames. This means they undergo more frequent and extreme expansion‑contraction cycles, making proper sealing even more crucial.
- Capillary Action: The resulting hairline cracks act like straws, sucking water into the gap between the aluminum frame and the wall.
- Improper Installation: Often, the original sealant was applied poorly, the backing rod wasn’t used, or the flashing behind the aluminium frame is missing or damaged.
The Decision Matrix
| If this sounds like you… | Your Skill Level | Recommended Action |
| You have a steady hand, basic tools, and the leak is minor (a small drip only during heavy wind‑driven rain). You are comfortable working on a ladder. | Intermediate | Proceed with DIY Guide. |
| You see water bubbling paint or staining the inside wall. The frame feels loose. You have no tools. You are uncomfortable on ladders. You don’t know what “backer rod” or “silicone” is. | Beginner / Zero Knowledge | STOP. CALL A PRO. Do not attempt. You risk structural damage. |
| The wall shows signs of rot, mold, or the aluminum frame is visibly pulling away from the wall. | All Levels | CALL A PRO IMMEDIATELY. This indicates a structural failure. |
Part 2: The DIY Guide (For Minor Leaks on the Exterior)
This process is for re‑sealing the exterior joint. It does not fix internal wall damage or broken flashing.
Tools & Materials You Will Need
- Safety Gear: Safety glasses, work gloves.
- Ladder: A sturdy, correctly sized ladder.
- Cleaner: Mineral spirits or denatured alcohol, and a stiff‑bristled brush (an old toothbrush works).
- Putty Knife: A stiff 1‑inch or 2‑inch putty knife.
- Utility Knife: For cutting out old sealant.
- Backer Rod: Closed‑cell foam rope (sized slightly larger than the gap). This is non‑negotiable; it creates the proper hourglass shape for the sealant.
- Sealant: Neutral‑cure silicone (100% silicone, specifically labelled for windows, doors, and masonry).Why? Unlike standard acetoxy silicones (the ones that smell like vinegar), neutral‑cure silicone does not release acidic vapours as it cures. Those acidic vapours can corrode aluminium and weaken the bond to masonry over time. For aluminum frames, neutral‑cure is the only safe choice.
- Caulking Gun: A high‑quality one for smooth control.
- Painter’s Tape: For clean lines.
- Dish Soap & Water: For tooling the joint (see Step 7).
Step-by-Step Instructions
Step 1: Safety & Access
Set up your ladder on stable ground. Ensure you can comfortably and safely reach the entire perimeter of the window or door.
Step 2: Diagnose First – Check Weep Holes
Before you cut out any sealant, look at the bottom of the exterior aluminium frame. You’ll see small slots (weep holes) designed to drain water from the frame’s track.
- Use a small wire or a toothpick to clear any dirt, insects, or debris from these holes.
- Pour a little water into the bottom track; it should flow out through the weep holes within seconds.
- If water pools or overflows the interior leg of the frame, the leak you’re seeing may actually be water backing up from clogged weep holes—not a failed frame‑wall seal. Clear them first and re‑test.
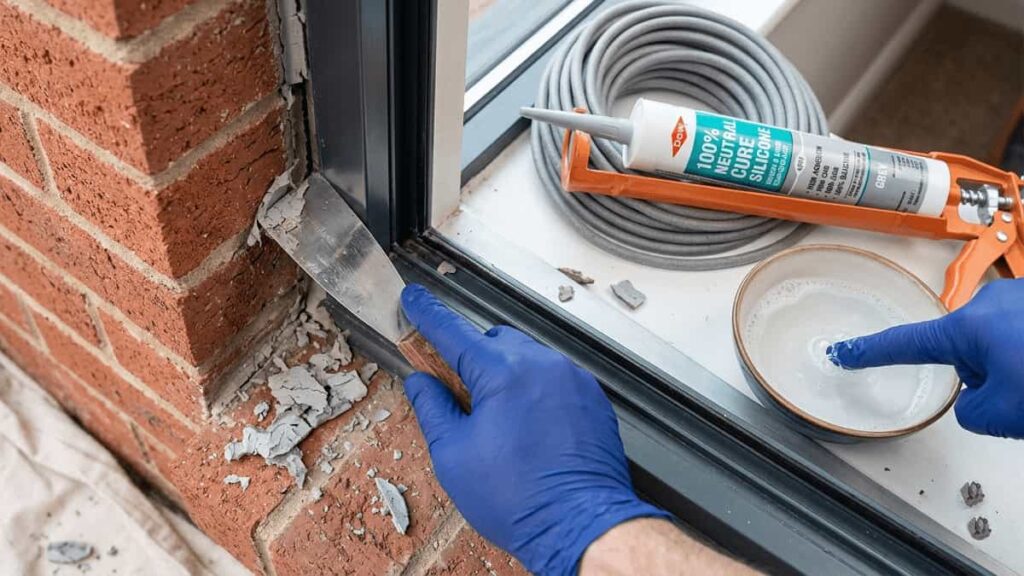
Step 3: Remove the Old Sealant (The Most Important Step)
Do not simply apply new silicone over the old.
- Use the utility knife and putty knife to scrape away all of the old, cracked sealant.
- You must expose the actual gap between the aluminum frame and the wall. It should be clean and dry.
Step 4: Deep Clean
- Use the brush and mineral spirits to scrub the gap. You are cleaning both the aluminium surface and the wall surface (brick, stucco, wood).
- Wipe away all dust, debris, and residue. Let it dry completely. If the area is damp from a recent rain, wait 24–48 hours. Sealant will not bond to a wet surface.
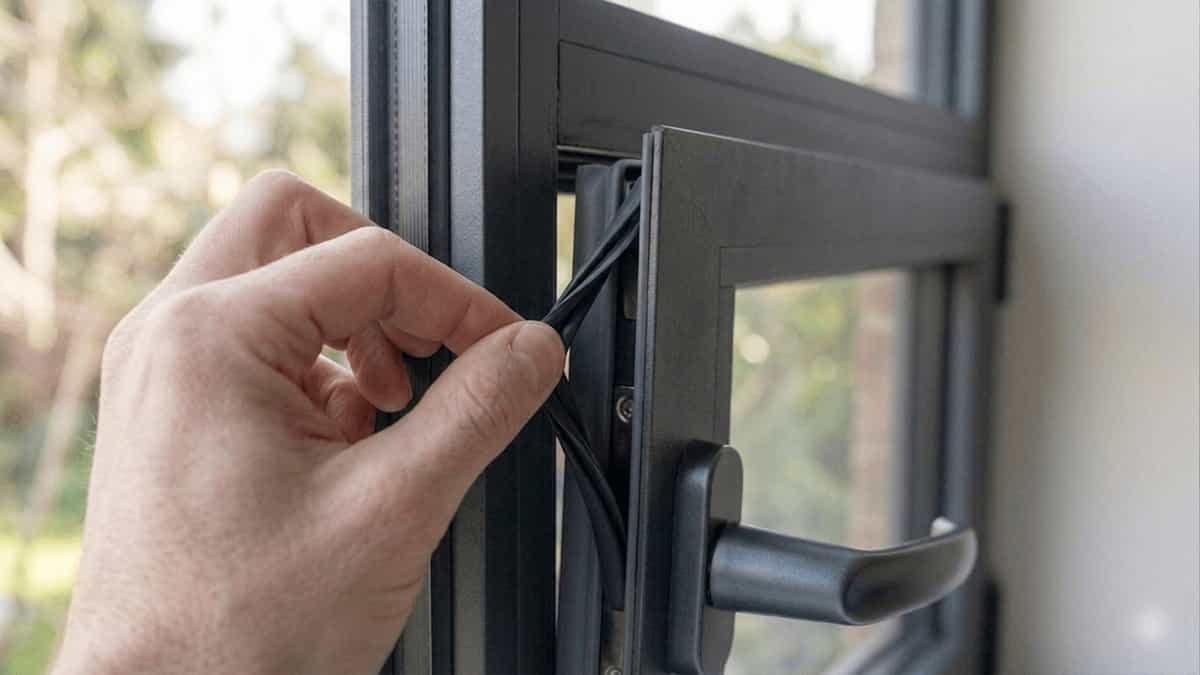
Step 5: Install Backer Rod
- Look at the gap. If it is deeper than ½ inch (12mm), you need backer rod.
- Push the foam rod into the gap so it sits about ¼ inch (6mm) below the surface. This serves three purposes: it fills the deep void, saves sealant, and creates an “hourglass” shape that allows the sealant to stretch without tearing.
Step 6: Mask the Area (For a Pro Finish)
- Apply painter’s tape along the edge of the frame and along the wall, leaving only the clean gap exposed. This will make your final finish look professional and save you from a messy clean‑up.
Step 7: Apply the Silicone
- Cut the nozzle of the silicone tube at a 45‑degree angle. The hole should be slightly smaller than the width of your gap.
- Insert the tube into the caulking gun.
- Hold the gun at a 45‑degree angle. Apply steady pressure and push the silicone into the gap, not just on top of it. You want it to fill the void completely.
- Tool the joint for a pro finish: Mix a small bowl of water with a few drops of dish soap. Dip your finger or a plastic spoon in the soapy water, then gently run it over the silicone to smooth it and press it firmly into the gap. The soapy water prevents the silicone from sticking to your skin or the tool, giving you a clean, professional bead.
Step 8: Remove Tape & Let Cure
- Immediately remove the painter’s tape while the silicone is still wet.
- Do not touch it again. Allow it to cure for at least 24–48 hours (check the tube for specific times) before exposing it to water.
Part 3: Why You Might Need to Call a Professional
If you are in the “Zero Knowledge” category, here’s what a professional does that you might not be equipped for:
- Diagnosis: A pro can determine if the leak is from the frame‑wall joint, a failed gasket in the glass, or clogged weep holes. They can use tools like moisture meters to find hidden damage.
- Flashing Repair: If the metal flashing behind the frame was installed incorrectly, simply re‑caulking from the outside will trap water inside the wall. Fixing this requires removing the exterior cladding or the entire aluminum window unit.
- Structural Issues: If the wall is compromised, a general contractor is needed to rebuild the structural supports before a window installer can re‑install the aluminium frame.
- Warranty: If your windows are new or under warranty, a DIY repair might void it. A professional installer will often guarantee their work for a period.
Further Reading & Related Issues
For more context on maintaining your aluminium windows and doors, these articles from our archive are helpful:
- For a broader overview of common problems: Common Problems With Aluminium WindowsThis guide covers other issues like condensation, hardware failure, and thermal performance, helping you distinguish between a simple sealant issue and a more complex problem.
- To understand why sealing is critical in different climates: Good & Bad Climate for Aluminium Doors and WindowsLearn how temperature swings and humidity directly impact the expansion and contraction that cause these leaks.
- For preventative maintenance after the fix: How to Maintain Aluminum WindowsOnce your leak is fixed, this guide will help you keep your seals and frames in top condition to prevent future failures.
Summary
- Assess the Damage: Is it a minor exterior drip or interior water damage? If interior, call a pro.
- Check Weep Holes First: Clear them; a clogged weep hole is often mistaken for a failed joint seal in aluminum frames.
- Gather Tools: If DIYing, you must use neutral‑cure silicone and backer rod. Never use cheap, acidic caulk.
- Do It Right: Remove old sealant completely, clean thoroughly, install backer rod, and tool with soapy water for a proper, lasting seal.
- When in Doubt: Re‑sealing a window is a cheap fix compared to repairing a rotted wall frame. If you lack the tools, the confidence, or see signs of serious damage, hire a licensed aluminium window installer or contractor.
Disclaimer: This guide is for informational purposes. Aluminium Magazine is not liable for any damage resulting from DIY repairs. Always prioritise safety.
Related Articles

Featured


You May Also Like

Aluminum Bathroom Windows That Work in Every U.S. Climate Zo…

Why Aluminum Christmas Trees Are the Coolest Holiday Trend i…

Do Curtain Walls Save Energy?

Aluminium’s Key Role in the Electric Vehicle Revolution
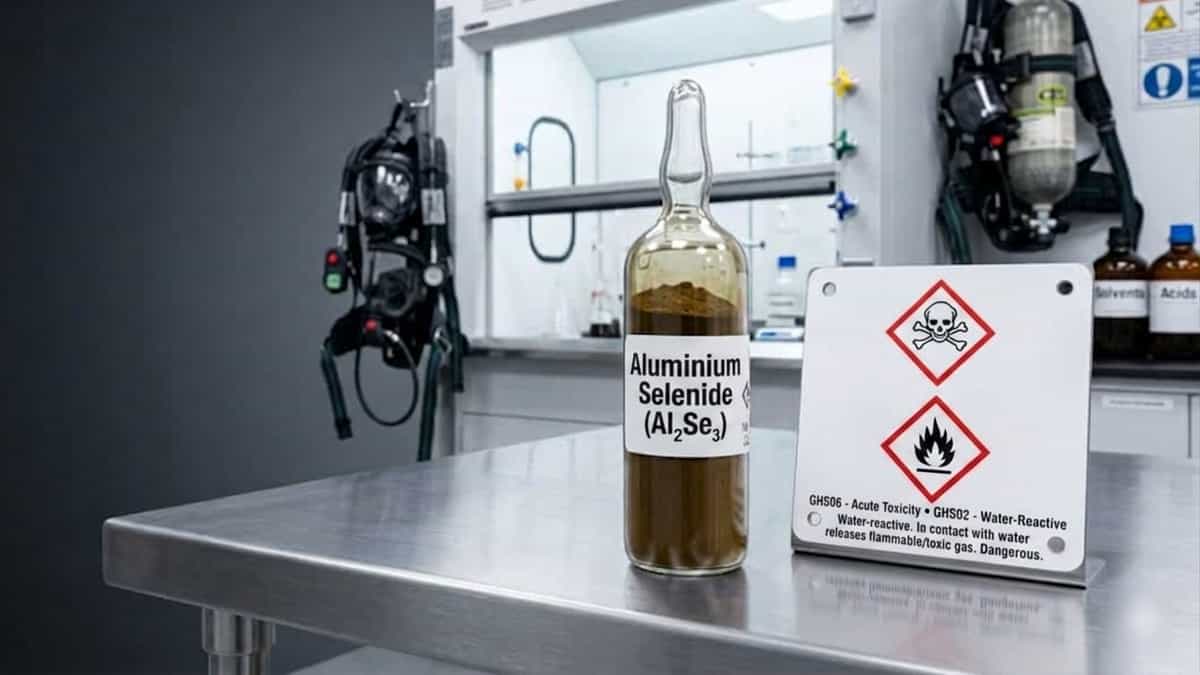
Aluminium Selenide (Al₂Se₃): The Complete Guide
