Windows or doors that feel loose, visibly shake when a truck passes by, or seem to flex when you operate them are more than just annoying—they signal a structural weakness. Over time, this can lead to air leaks, water infiltration, and even safety hazards. The problem usually comes down to two root causes: undersized profiles for the span of the window, and inadequate anchoring to the surrounding wall structure.
This guide will help you diagnose the issue, perform basic reinforcement if you’re comfortable, and—most importantly—recognise when you must bring in a professional.
The Problem & The Decision (DIY or Call a Pro?)
What Causes Frame Deformation?
- Thin Profiles for the Size
Aluminium window frames are made from extruded profiles. For large or tall windows, a profile that is too thin (e.g., a standard residential section used on a 2.5‑meter‑wide sliding door) will lack the required moment of inertia. Under wind load or even its own weight, the frame can bow, twist, or sag. - Insufficient Anchoring
If the frame is attached to the wall with only a few screws or with weak fixings, it can shift under pressure. This is especially common when installers rely only on foam or simple clips instead of proper mechanical anchors into structural elements. - Missing Reinforcements
In many aluminium systems, corners are joined with simple corner keys. Without additional steel reinforcement or external brackets, the corners can open up over time, leading to a “loose” feeling and visible gaps.

The Decision Matrix
| If this sounds like you… | Your Skill Level | Recommended Action |
|---|---|---|
| The window feels slightly loose only when operating it, but the frame is straight and the wall looks solid. You are comfortable using a drill and basic hand tools. | Intermediate | Proceed with DIY Guide. |
| The frame is visibly bent, the wall around it has cracks, or the window won’t close properly. You have no experience with structural fixings. | Beginner / Zero Knowledge | STOP. CALL A PRO. A deformed frame can be a structural safety issue. |
| You see large gaps between the frame and the wall, or the whole unit moves when you push it. | All Levels | CALL A PRO IMMEDIATELY. The window may be at risk of falling out. |
The DIY Guide (For Minor Rigidity Issues)
This guide is for supplemental reinforcement when the frame is still straight but feels under‑supported. It does not fix a frame that is already permanently bent.
Tools & Materials You Will Need
- Safety Gear: Safety glasses, work gloves.
- Drill: With metal and masonry bits.
- Measuring Tape & Pencil
- Level
- Aluminium Brackets / Angles: Choose from L‑brackets, T‑brackets, or corner angles (these are commonly available in 2‑4 mm thickness). Use the same material as the frame to avoid galvanic corrosion.
- Stainless Steel Screws: Self‑tapping for metal‑to‑metal, and masonry anchors for wall attachment.
- Silicone Sealant (Neutral‑Cure): To seal any new screw penetrations.
- Safety Ladder (if working on upper floors)
Step‑by‑Step Instructions
Step 1: Identify the Weak Points
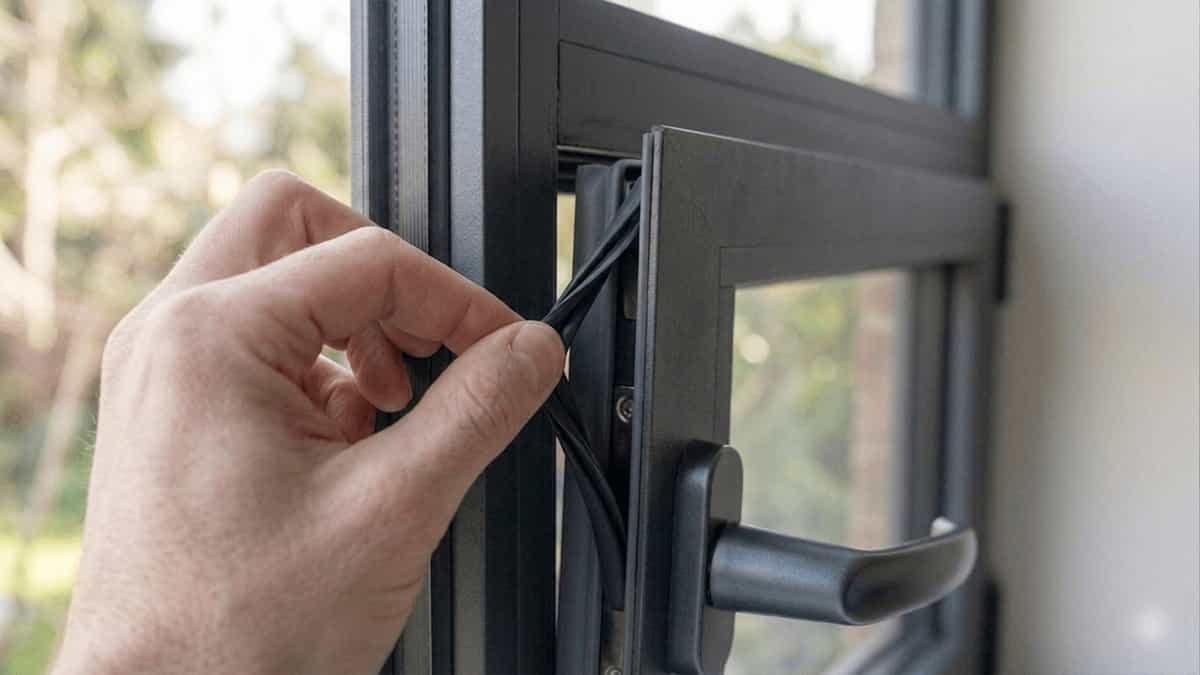
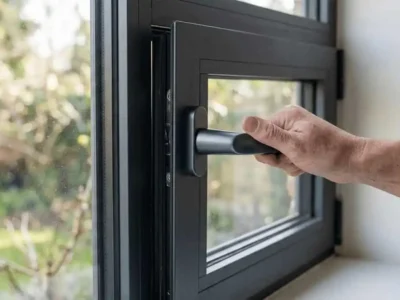
- Open and close the window. Watch where the frame moves most.
- Check the corners: do they gap when pressure is applied?
- Look at the anchoring points. On a typical installation, you’ll see screws through the frame into the wall.
Pro tip: Industry standards (AAMA, EN) generally require fixings within 150 mm (6 inches) of each corner and then spaced every 450–600 mm (18–24 inches) along the frame. If your window has far fewer screws than this—or if they are all clustered in the middle—insufficient anchoring is likely the culprit.
Step 2: Add Corner Reinforcement
- For a corner that feels loose, you can install a corner angle bracket on the inside of the frame (on the fixed part, not the sash).
- Hold the bracket so it straddles the joint. Mark the screw holes.
- Pre‑drill with a bit slightly smaller than the screw diameter to avoid cracking the aluminium.
- Screw the bracket into place using stainless steel self‑tapping screws. Tighten firmly but do not overtighten.
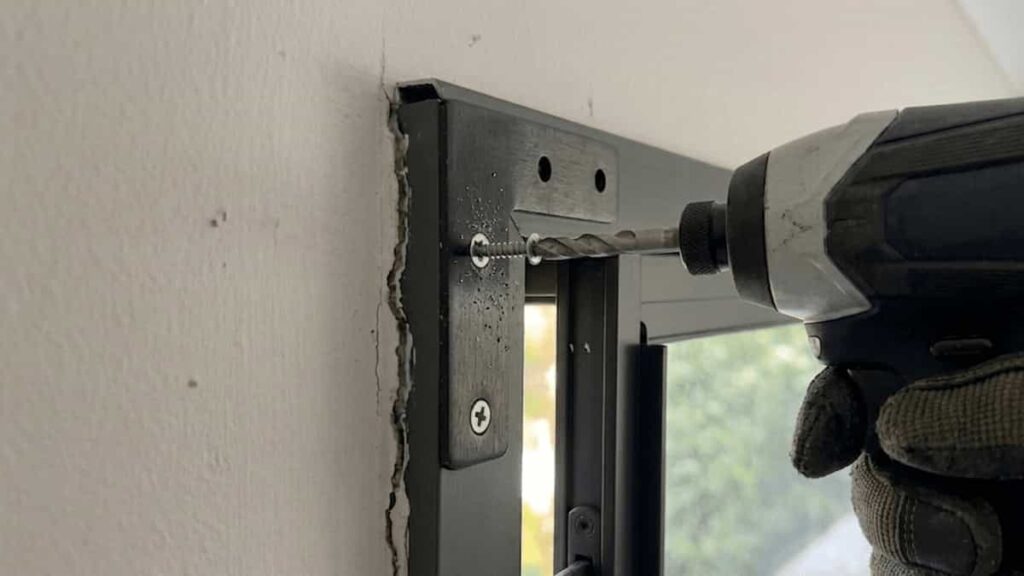
Step 3: Reinforce Anchoring to the Wall
- If the frame shifts away from the wall, you can add extra screws through the frame into the structural wall.
- Locate the stud or concrete behind the wall (use a stud finder or tap to listen).
- Drill a pilot hole through the aluminium frame and into the wall.
- For wood studs, use wood screws long enough to penetrate at least 1½ inches into the stud.
- For masonry, use a hammer drill and masonry anchors.
- Apply a dab of neutral‑cure silicone around the screw head to keep water out.
Step 4: Use L‑Brackets for Additional Support
- In some cases, a large fixed window can be reinforced by attaching L‑brackets from the inside frame to the adjacent wall (if the wall is finished and you don’t mind a visible bracket).
- Measure, mark, pre‑drill, and attach one leg to the frame and the other to the wall using appropriate screws.
- This is a last‑resort DIY option; it’s visible but can stabilise a large panel.
Step 5: Test and Seal
- Operate the window several times. The movement should be noticeably reduced.
- Seal any new screw penetrations with silicone to prevent water ingress.
Why You Might Need to Call a Professional
If you fall into the “Pro” category, here’s what a specialist will do that you cannot safely achieve at home:
- Structural Assessment: A professional can determine if the deformation is due to an undersized profile that requires complete replacement, or if the wall structure itself is compromised.
- Steel Reinforcement: For large sliding doors or wide windows, pros often insert galvanised steel tubes into the hollow aluminium frame sections—a task that requires disassembly of the unit.
- Specialised Brackets: They have access to system‑specific corner cleats, tension rods, and heavy‑duty L‑angles that are hidden within the frame.
- Full Re‑installation: If the original installation lacked proper anchors, a professional may need to remove the window, correct the opening, and re‑install with the correct fixings.
- Warranty & Safety: A poorly done reinforcement can void warranties and, worse, create a hazard if the window falls from height. Certified installers will also guarantee their work.
Further Reading & Related Issues
To better understand the materials and correct installation techniques, explore these articles from our archive:
- For an overview of common window problems:
Aluminium Window Problems Guide
This article covers a range of issues including frame deformation, helping you identify whether your problem is isolated or part of a larger pattern. - To learn about reinforcement hardware:
Aluminum Brackets, L, T, and Corner Angles
A deep dive into the types of brackets professionals use to reinforce aluminium frames—exactly the hardware mentioned in this guide. - For understanding profile quality and standards:
Global Standards for Aluminium (ASTM, AAMA, EN, DIN, BS)
Learn why profile thickness and alloy choice matter for structural rigidity. - If you’re considering replacing rather than repairing:
Aluminium 6063 Alloy for Windows and Doors
Understand the alloy most commonly used in quality frames and why it’s chosen for its strength and extrudability. - As part of this series, you may also want to read:
Water Leakage at Frame‑Wall Joints – DIY Guide
Deformation and leakage often go hand in hand. A rigid frame is essential for maintaining a watertight seal.
Summary
- Assess the Rigidity: Does the frame shake under hand pressure? Are there gaps at the corners? Count the anchoring points against the industry standard (fixings within 150 mm of corners, spaced every 450–600 mm).
- Know Your Limits: If the frame is visibly bent or the wall is damaged, call a pro immediately.
- DIY Minor Fixes: For slightly loose corners or insufficient anchoring, you can add L‑brackets, corner angles, or extra screws—but use the right materials (aluminium or stainless steel).
- Professional Reinforcement: For large windows, structural steel inserts and system‑specific brackets are the only safe solutions.
- Prevention: When ordering new windows, always specify profile thickness and anchoring requirements based on the size of the unit.
Disclaimer: This guide is for informational purposes. Aluminium Magazine is not liable for any damage resulting from DIY repairs. Always prioritise safety.