Specialty glass types – such as reflective (solar control), patterned (obscured), or frosted – are designed with a specific orientation. If installed backwards, they can lose their primary function: reflective glass may overheat the room instead of deflecting heat, patterned glass may collect dirt in the wrong side, and frosted glass may be easier to see through from the outside. This guide will help you diagnose orientation problems and, in minor cases, correct them yourself.
The Problem & The Decision (DIY or Call a Pro?)
What Is Glass Orientation?
Most float glass is symmetrical, but coated, patterned, and frosted glasses are not. Manufacturers apply coatings or textures to one side only. The correct orientation is usually:
| Glass Type | Correct Orientation | Why It Matters |
|---|---|---|
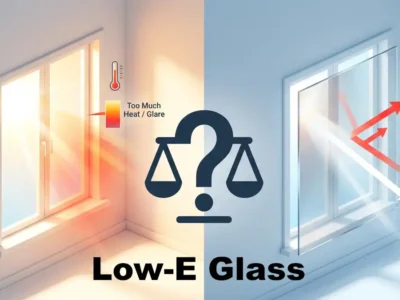
| Reflective / Low‑E (hard coat) | Coating facing inside (towards the room) | Coating reflects heat back into the room in winter; if reversed, it can cause overheating or trap heat between panes. |
| Reflective / Solar control | Coating facing outside (towards the sun) | Reflects solar radiation before it enters the glass; if reversed, the coating can overheat and delaminate. |
| Patterned / Obscured | Pattern facing outside (or as specified) | Smooth side inside is easier to clean; pattern outside provides privacy and reduces external dirt accumulation. |
| Frosted (etched) | Smooth side inside | Rough side outside collects dirt and is hard to clean; smooth side inside is easier to maintain. |
Common Symptoms of Wrong Orientation
- Reflective glass: The window feels hot to the touch on the inside, or the room overheats despite the glass looking mirrored from outside.
- Patterned glass: The pattern is smooth on the outside but rough inside, making it difficult to clean condensation or dirt.
- Frosted glass: The rough side is inside, trapping grime and making the glass look permanently dirty.
The Decision Matrix
| If this sounds like you… | Your Skill Level | Recommended Action |
|---|---|---|
| You have a single, small window (e.g., bathroom or door lite) that is not too heavy. You are comfortable removing the glass stop beads and have basic tools. | Intermediate | Proceed with DIY Guide. |
| The window is large (over 1m²), double‑glazed, or part of a structural facade. You have no experience handling glass. | Beginner / Zero Knowledge | STOP. CALL A PRO. Large or sealed units are heavy and dangerous to handle. |
| The glass is laminated, triple‑glazed, or part of a certified thermal break system. | All Levels | CALL A PRO. Specialised tools and techniques are required to avoid breaking the seal or the glass. |
The DIY Guide (For Single Pane, Non‑Sealed Glass)
This guide applies to single‑pane glass (e.g., in a bathroom window, internal door, or old aluminum frame). For sealed double‑glazed units, the orientation is fixed at the factory; if it’s wrong, you must replace the whole unit – that is a professional job.
Tools & Materials You Will Need
- Safety Gear: Cut‑resistant gloves, safety glasses.
- Glass Suction Cups (two, to safely lift the glass)
- Putty Knife / Glazing Bar
- Flat Pry Bar (small)
- Rubber Mallet (if stops are tight)
- Glazing Tape or Setting Blocks (to reposition the glass)
- Silicone Sealant (Neutral‑Cure) – if the original seal is broken
- Painter’s Tape
- Glass Cleaner & Lint‑Free Cloth
- Work Gloves
Step‑by‑Step Instructions
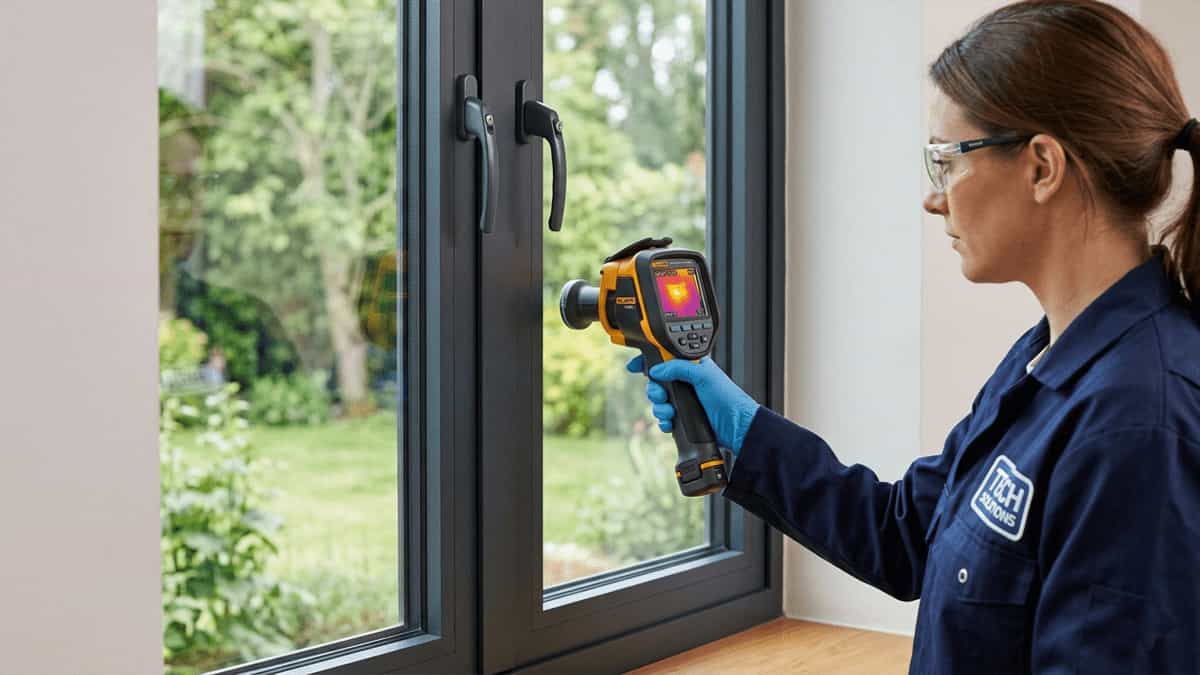
Step 1: Identify the Incorrect Orientation
- For reflective glass: on a sunny day, touch the inside glass surface. If it’s hot, the coating is likely facing inward when it should face outward.
- For patterned glass: run your finger across the surface. The rough side should face outside. If it’s inside, it’s wrong.
- For frosted glass: the smooth side should be inside (where you clean it). If the rough side is inside, it’s wrong.
Step 2: Remove the Glass Stop Beads
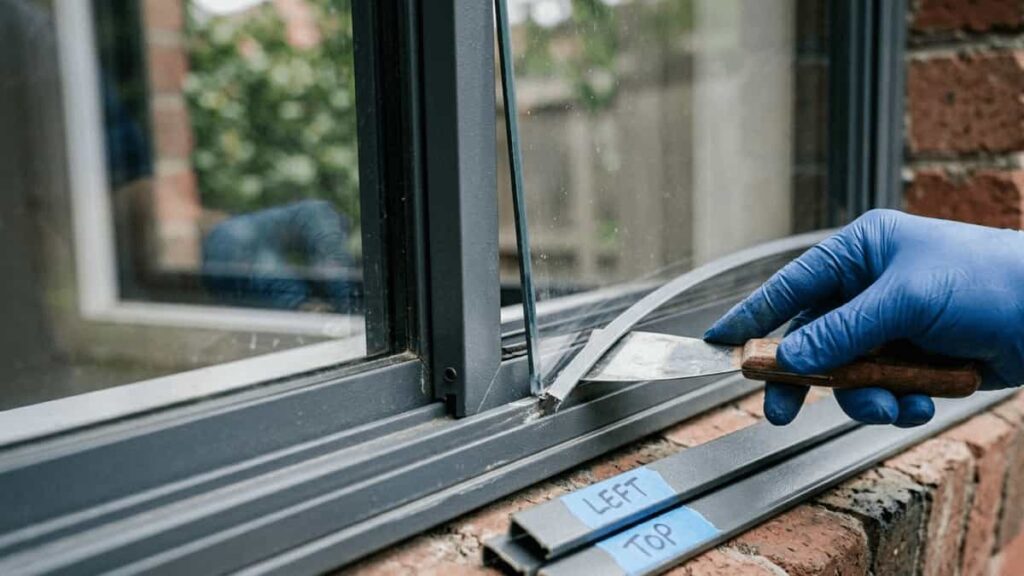
- Aluminium frames hold the glass with removable beads (also called glazing beads or stops). They are usually screwed or snapped in.
- Use a putty knife to gently pry the bead away from the frame. Work slowly to avoid bending the aluminium.
- If screws are present, remove them with a screwdriver.
- Label each bead (top, bottom, left, right) with painter’s tape so you can reinstall them in the correct order.
Step 3: Remove the Glass
- Wear cut‑resistant gloves and safety glasses.
- Attach suction cups to the glass near the centre.
- Carefully tilt the glass out of the frame. If the glass is stuck, use a glazing bar to gently break the seal of old putty or tape.
- Lift the glass out and set it on a padded work surface (e.g., an old blanket or cardboard).
Step 4: Clean the Frame and the Glass
- Remove any old glazing tape, putty, or silicone from the frame.
- Clean both sides of the glass with glass cleaner. Now you can clearly see which side has the coating or pattern.
Step 5: Flip the Glass to the Correct Orientation
- Determine the correct side based on the table in Part 1.
- Rotate the glass 180 degrees (flip it over). Do not rotate it 90 degrees unless it’s square – the orientation of the coating is usually directional.
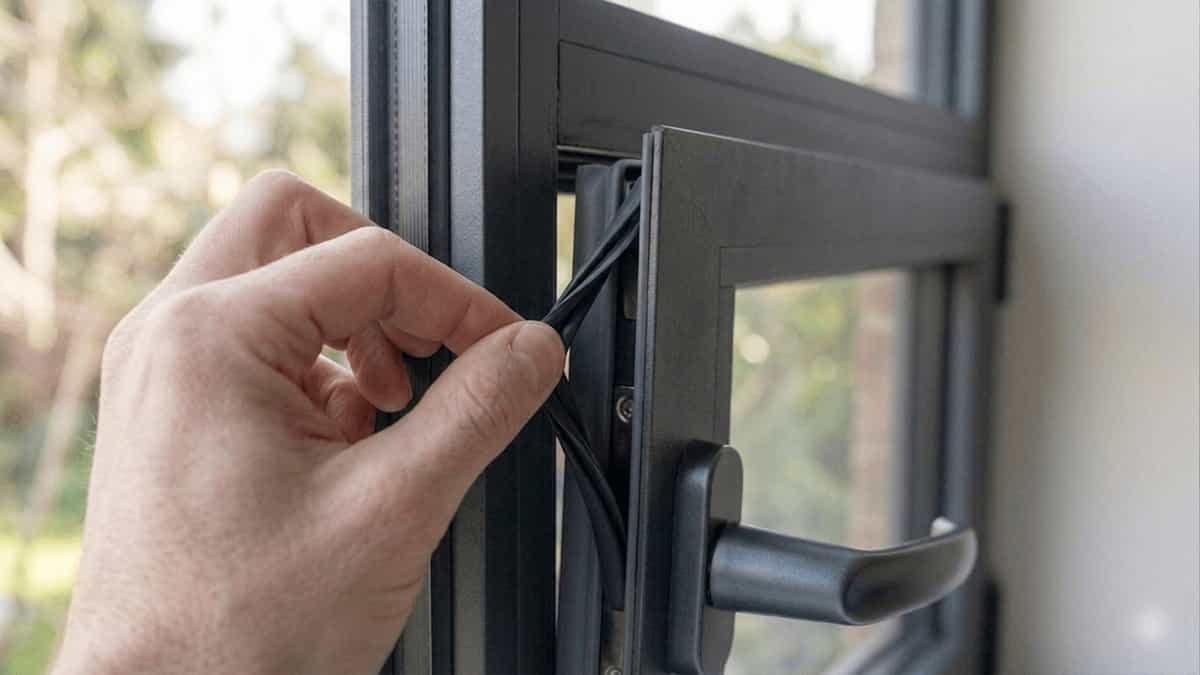
- Place new setting blocks or glazing tape into the frame. These create a small gap and cushion the glass.
- Carefully lower the glass into the frame with the correct side facing out.
Step 6: Reinstall the Glass Stops
- Put the glazing beads back in the order you labelled them.
- Press or screw them into place. Do not overtighten – aluminum can crack.
- If the original sealant was broken, apply a thin bead of neutral‑cure silicone along the inside edge of the bead to prevent water ingress.
Step 7: Test and Clean
- Clean the glass again to remove fingerprints.
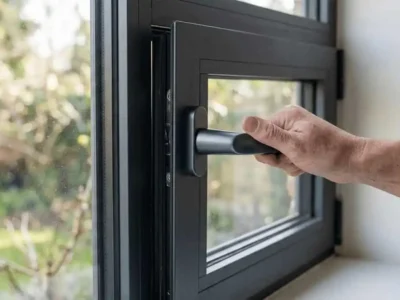
- Check that the window opens and closes properly (if it’s an operable sash).
- Test the performance: for reflective glass, the inside should now feel cooler in direct sun.
Why You Might Need to Call a Professional
If you fall into the “Pro” category, here’s what a specialist will do that you cannot safely achieve at home:
- Sealed Double‑Glazed Units: The orientation is fixed during manufacturing. If installed backwards, the entire sealed unit must be replaced – a job that requires measuring, ordering, and handling large, heavy glass panels.
- Large or Heavy Glass: Anything over 1 square metre (approx. 10 sq ft) is difficult to handle safely without a glass suction lifter and a second person. Professionals have the right equipment.
- Structural or Facade Glazing: In commercial or high‑rise buildings, glass is often structural. Incorrect orientation can affect wind load resistance and safety.
- Laminated Glass: If the glass is laminated (two panes with a plastic interlayer), flipping it may delaminate the edges. Professionals can assess whether flipping is even possible.
- Warranty: If the window is under warranty, a DIY attempt may void it. The manufacturer may replace the unit if the orientation was a factory error.
Summary
- Identify the Glass Type: Reflective, patterned, or frosted. Check which side is smooth and which is rough, or test for heat.
- Know Your Limits: Single‑pane, small windows can be DIY. Sealed units or large glass = call a pro.
- DIY Steps: Remove glazing beads, flip the glass, reinstall. Use suction cups and gloves for safety.
- Professional Help: For double glazing, large panels, or structural glazing – always hire a certified glazier.
- Prevention: When ordering new windows, ask the supplier to clearly mark the outside face with a sticker.
Further Reading & Related Issues
- For an overview of glass types used in aluminum windows:
Types of Glass for Aluminium Doors and Windows
This article explains the differences between tempered, laminated, low‑E, and patterned glass – including their correct orientation. - To understand reflective glass pros and cons:
Reflective Glass – Pros and Cons
Learn why orientation matters for solar control and privacy. - If you are experiencing condensation or fogging (which may be mistaken for orientation issues):
Condensation on Aluminium Windows – Causes and Fixes - For general maintenance of aluminum windows after fixing the glass:
How to Maintain Aluminum Windows - As part of this series, the previous articles:
Water Leakage at Frame‑Wall Joints
Frame Deformation and Poor Rigidity
To better understand glass types and aluminium window construction, explore these articles from our archive:
Disclaimer: This guide is for informational purposes. Aluminium Magazine is not liable for any damage resulting from DIY repairs. Always prioritise safety. If in doubt, hire a qualified glazier.
Related Articles

Featured


You May Also Like

Aluminium Carbide (Al₄C₃): The Complete Guide
Think Twice Before Choosing Low-E Glass — Pros & Cons Ev…

Navigating the Maze to Savings: Your Full-Frame vs. Pocket W…
Your Home, Your Tech, Your Car… All Powered by One Metal

Lithium Aluminum Hydride (LiAlH₄): The Complete Guide
