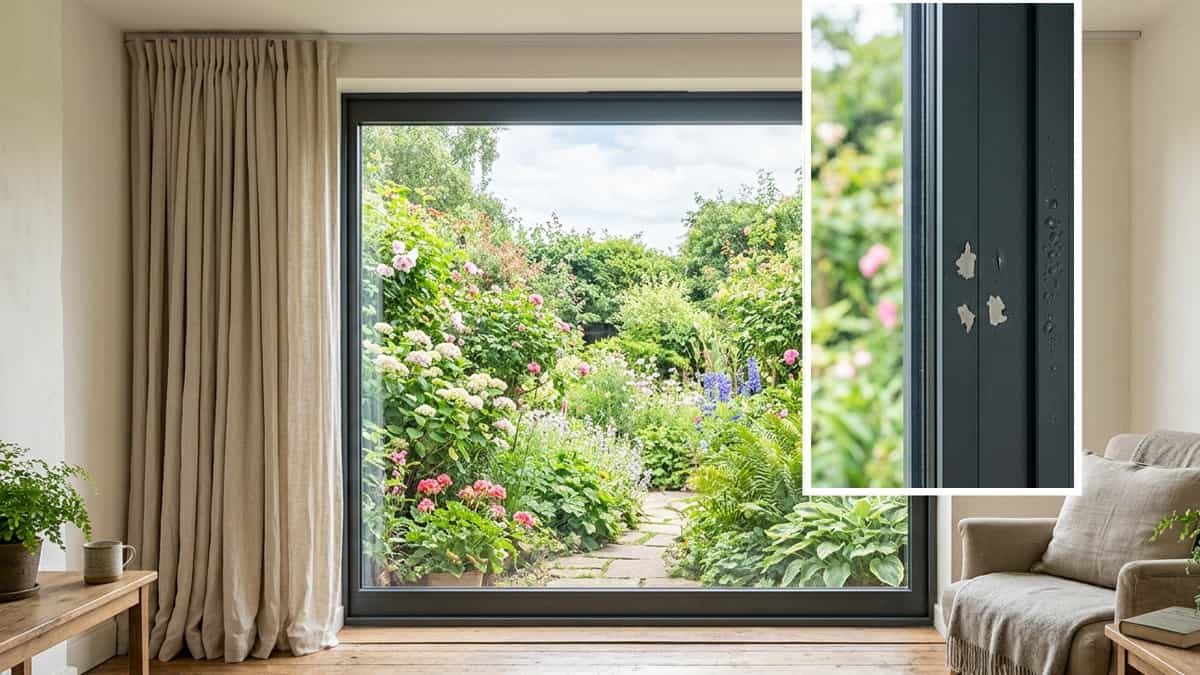
Powder coating is the workhorse finish for aluminium windows and doors. It’s tough, long-lasting, and looks sharp. But it’s not a lifetime guarantee. Eventually—whether it’s 5 years or 25 years down the line—the sun, salt, or simple wear and tear will take its toll. When you start seeing that dreaded chalky residue or those small blisters forming on the frame, the big question looms: Do I have to rip out and replace these perfectly good aluminum windows, or can I just paint over it?
The short answer is yes, you can repaint powder coated aluminium. But—and this is a big but—you absolutely cannot just grab a can of spray paint from the hardware store and go to town. Proper recoating is a science of surface preparation. Here is the exact, contractor-approved method for bringing faded, failed powder coat back from the dead.
Can You Repaint Powder Coated Aluminium?
Yes, but not directly. Powder coating is designed to be a non-porous, sealed barrier. Most liquid paints will simply bead up and slide off a smooth, glossy powder coat surface. Worse, if the existing powder coat is failing (chalking or peeling), painting over it is like painting over loose sand—the new paint will fall off along with the old failed layer.
The key is mechanical adhesion. You must create a “profile” or roughness on the surface so the new primer has something to bite into. If the original coating is already showing common problems with aluminium windows like peeling, you are actually in a better starting position than dealing with a perfectly smooth, 20-year-old finish.
Methods to Recoat
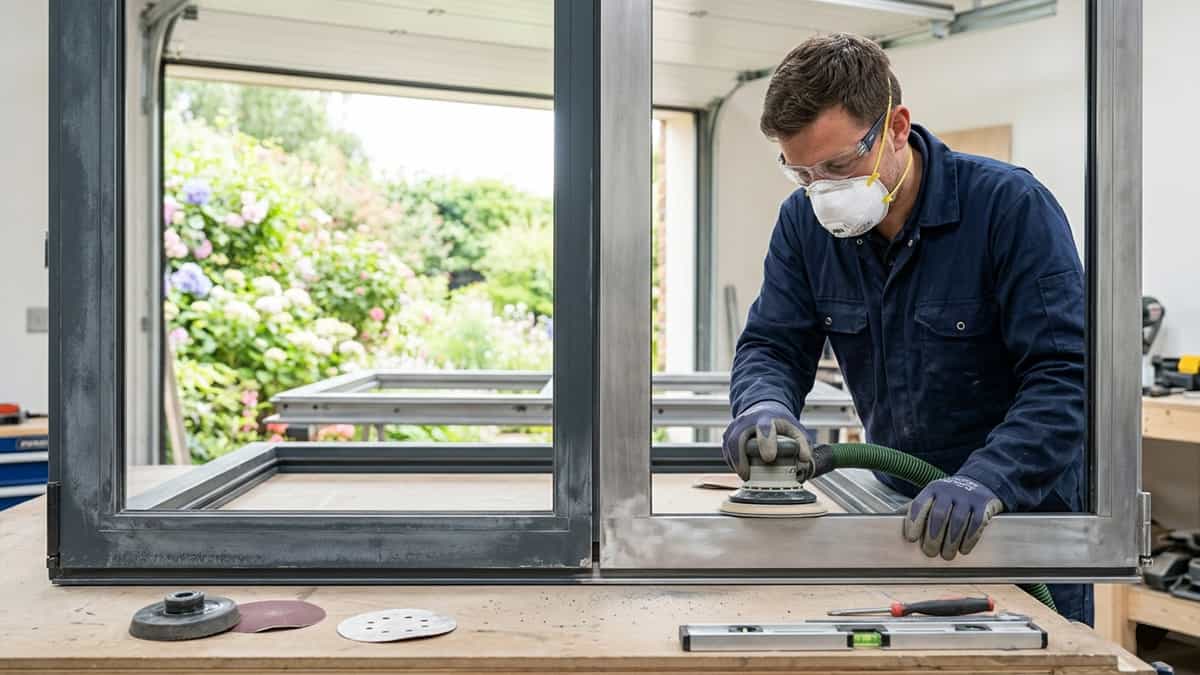
How do you rough up a surface that is harder than house paint? You have three options, ranging from DIY elbow grease to professional restoration.
- Sanding (The DIY Method): This involves hand-sanding or orbital sanding with 180 to 220 grit paper. Goal: Scuff every square inch of the frame to a uniform dull finish. Caveat: This is labor-intensive and almost impossible to do perfectly in the corners and grooves of complex profiles. It’s fine for a shed door, but risky for a main window.
- Chemical Stripping (The Dangerous Method): Aircraft-grade strippers containing methylene chloride will eat powder coat. However, they are nasty, toxic, and can damage the thermal breaks and gaskets of thermally broken profiles . For architectural windows, this is generally not recommended.
- Sandblasting / Media Blasting (The Professional Fix): This is the gold standard. A professional uses low-pressure blasting with fine grit (walnut shells or fine glass bead) to strip the failed coating back to bare aluminium without warping the metal. This removes all oxidation and gives the new primer the ultimate anchor profile.
Step-by-Step Recoating Process
If you are taking the professional route (or a very careful DIY route), here is the non-negotiable sequence for a finish that won’t fail in 12 months.
- Deep Cleaning: First, wash the frame with a degreasing agent to remove years of airborne grease and grime. If you don’t clean first, you’ll just sand the dirt into the metal pores.
- Roughening the Surface: Sand or blast the entire frame. Aim for a uniform matte appearance. You are not trying to remove all the color; you are trying to remove the gloss.
- Primer Application: This step is where most DIY jobs die. Aluminium requires an etch primer or a specific 2K (two-component) epoxy primer. This primer chemically bites into the aluminum and provides the bridge between the metal and your new paint. Skipping this step guarantees flaking paint within a year.
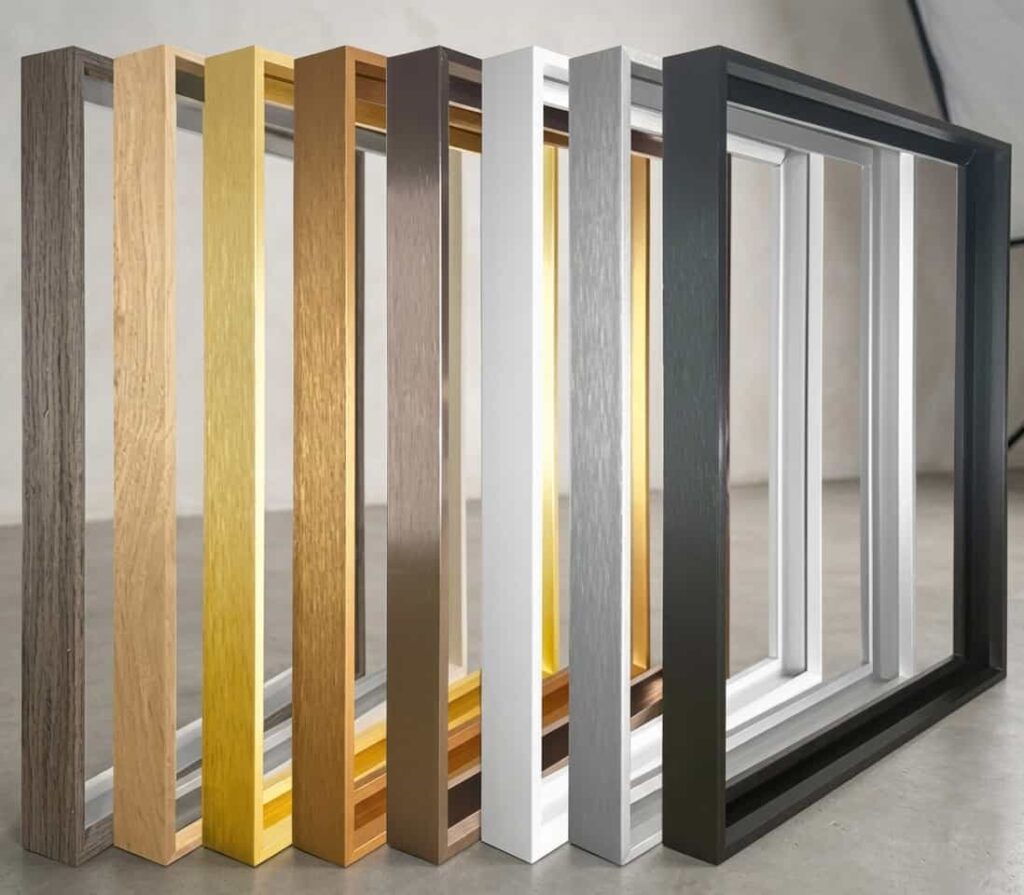
- Repainting / Recoating: Apply a high-quality, exterior-grade polyurethane or acrylic enamel paint. Do not use standard interior latex wall paint. For best results, a professional shop will actually re-powder coat the item. Yes, you can powder coat over a stripped frame. The result is a finish just as durable as the original factory job.
Common Mistakes (That Lead to Instant Regret)
Even seasoned painters unfamiliar with aluminium make these fatal errors:
- Painting Over a Smooth Surface: The new paint looks great for 3 months. Then a fingernail catches an edge, and the whole sheet peels off like a banana skin.
- Skipping Primer: You might think a “paint and primer in one” is enough. It is not. Aluminum needs the corrosion-inhibiting properties of a dedicated metal primer.
- Using the Wrong Paint Type: Avoid cheap alkyd (oil-based) enamels on exterior aluminum. They become brittle in UV light and will crack as the aluminum frame expands and contracts with temperature changes.
Cost vs Replacement: Is It Worth It?
This is the calculation every homeowner and facility manager must make.
- When Recoating is Worth It: You have non-standard sizes, custom colours, or historic frames that cannot be easily matched. Or, the frames are integrated into stucco or brickwork where removal would cause major damage. Professionally stripping and re-powder coating a sash usually costs 30-50% less than a full replacement.
- When Replacement is Smarter: If the frames are thermally inefficient (single-glazed, no thermal break) or the hardware (hinges, locks) is worn out. Also, if the extrusion is aluminium 6063 but the wall thickness is so thin it’s dented, new windows offer a better long-term ROI on energy bills.
Alternative Option: Switching to Anodizing
If you are stripping the frame down to bare metal via sandblasting, you have a unique opportunity to change the finish entirely. Instead of painting or powdering, you could send the bare aluminum out for anodizing.
- Pros: Anodizing is harder than powder coat (it’s essentially sapphire grown on the metal). It will never peel or chalk because it is the metal, not a layer on the metal. It is the superior choice for coastal areas dealing with filiform corrosion .
- Cons: Color matching is extremely difficult. Anodizing batches vary in tone, and the finish can appear slightly metallic or uneven. If you want a perfectly uniform RAL color, stick with powder coat.
⚠️ Important Practical Note: The Anodizing Reality Check
While anodizing is a superior chemical finish for bare aluminium, it is rarely a viable option for a single, already-installed or old window frame. Anodizing is a batch process that involves immersing the entire piece in a series of chemical tanks (acid etch, anodizing bath, and sealing tank).
Fabricators and finishers will almost universally refuse to process a single, one-off window sash for three critical reasons:
- Rack Marks & Fixturing: To be anodized, the part must be hung on a conductive rack. These contact points leave small, visible “rack marks” where the chemical reaction cannot occur. On a finished, visible window frame, these marks are generally considered unacceptable.
- Mixed Alloy Contamination: If your frame is welded or contains press-fit corners with different screw alloys, the anodizing color will not match uniformly. Different aluminium grades react differently in the acid bath, often resulting in a patchy or “burnt” appearance.
- Cost & Minimum Charges: Industrial anodizing lines operate on minimum lot charges. The cost to set up and “charge” the tanks for one individual window would likely exceed the price of a brand-new, high-end replacement window.
💡 Industry Reality Check:
While anodizing is technically superior for long-term durability, it is a factory-only process best reserved for new extrusions. If you are stripping paint from an existing frame, your only practical options are re-powder coating (at a professional shop) or on-site painting with 2K Polyurethane.
Final Wrap
Recoating powder coated aluminum is absolutely possible, but it lives and dies by the prep work. If you are a contractor, never quote a “paint touch-up” without inspecting the adhesion first. If you are a homeowner, understand that a proper re-coat is a skilled job—not a weekend warrior project with a rattle can. Treat the surface right, use the right primer, and that frame will look brand new for another two decades.
Related Articles
Featured


You May Also Like
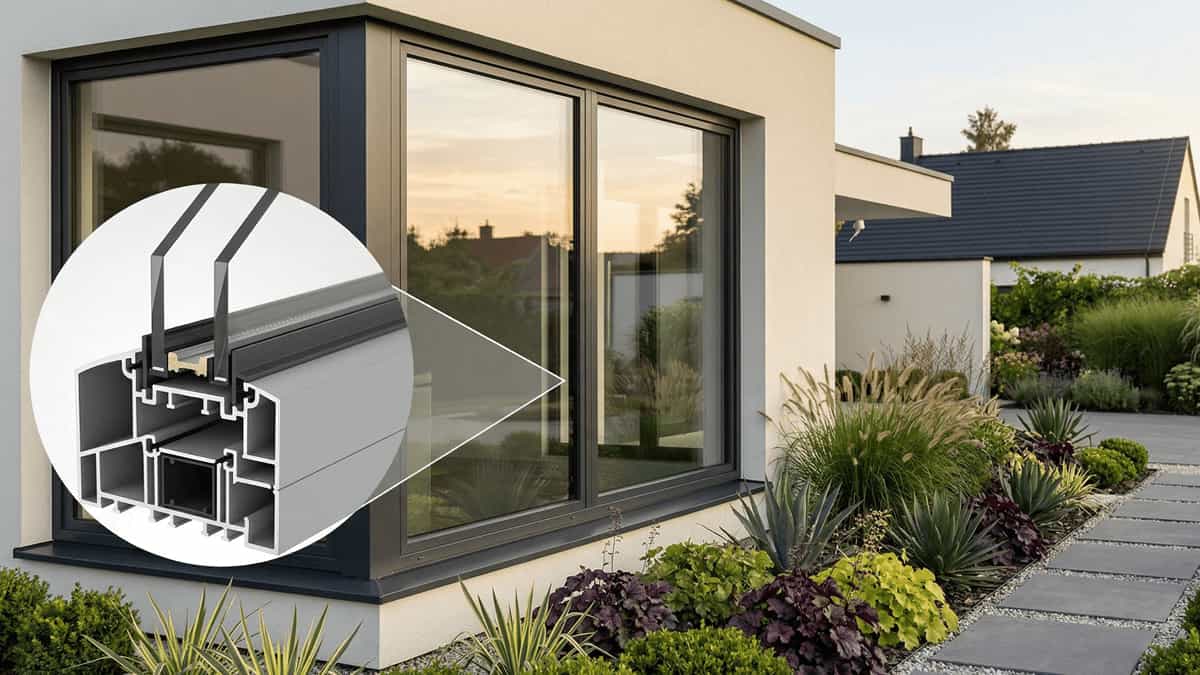
Thermal Break Windows vs Double Glazing: Why You Need Both f…
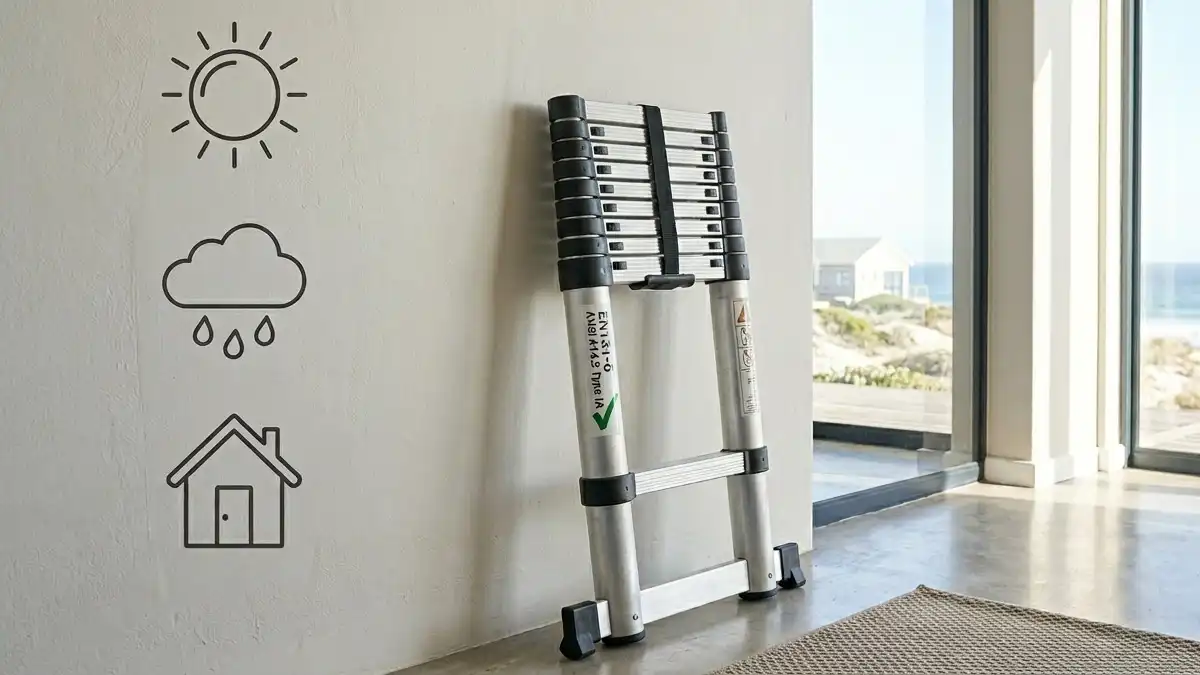
Aluminium Telescopic Ladders: Benefits, Safety & Climat…
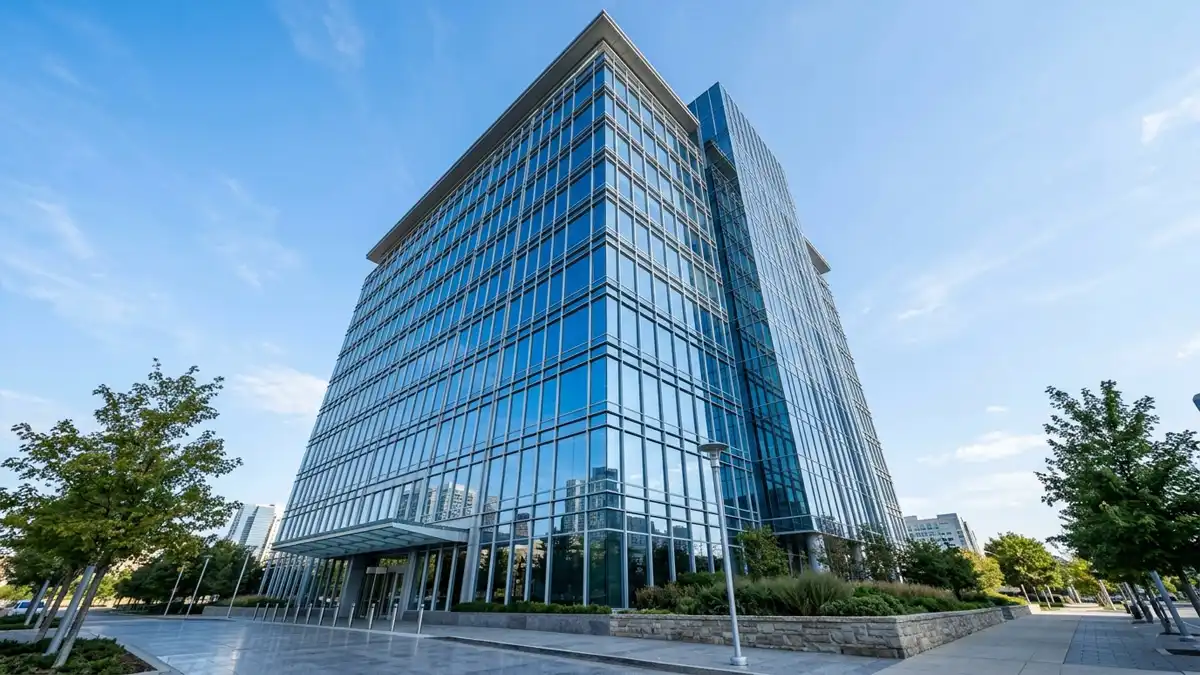
Curtain Walls: The Hidden System Behind Modern Glass Buildin…

Solar BIPV Systems: Why Aluminium Is the Backbone of the Gre…

Career in Aluminium/Aluminum Windows & Doors Business: J…